- vMix
- vMix with NDI
- vMix with Desktop Capture
- vMix with Image Output
- Wirecast
- Wirecast with NDI
- Wirecast with Remote Capture
- Wirecast with Local Capture
- Wirecast MAC OS X
- Open Broadcaster Software
- OBS with Local Capture
- Streamstar
- Streamstar with NDI
- Blackmagic
- ATEM Mini External Display
GET WIRECAST NOW!
GET YOUR SPORT PACKAGE
Purchase separate controls or the whole Professional Edition
Purchase NowWirecast Local Screen Capture
Last Updated:
In this tutorial, you will learn how to use Live Score with Wirecast by using
the Screen Capturing to integrate Live Score.
This is a perfect solution if you run Live Score on the same computer with Wirecast.
Using the Screen Capture is a basic way when running the Standard Edition of Live Score.
Using the Screen Capture is a basic way when running the Standard Edition of Live Score.
Start Live Score
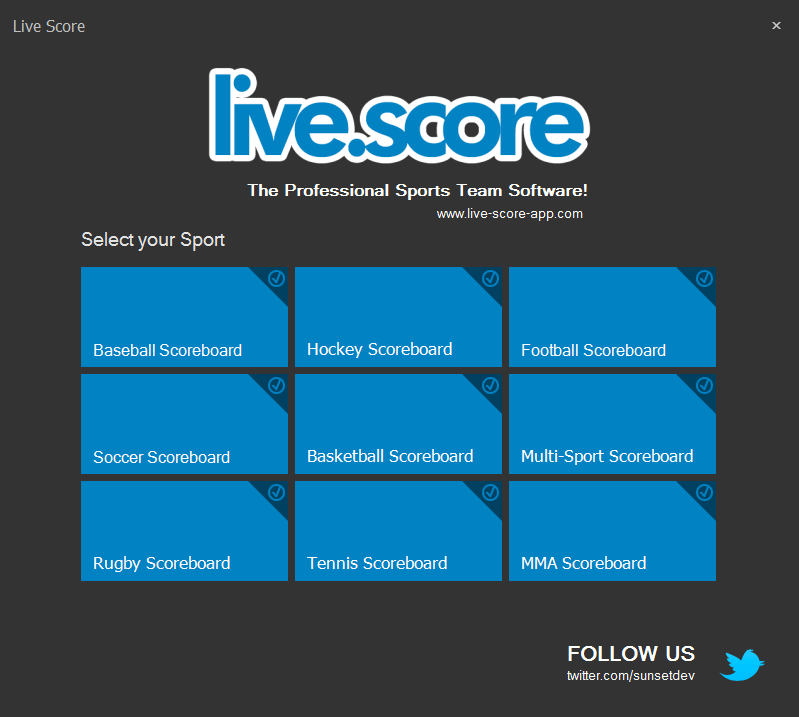
We start by opening Live Score and selecting our sport.
Live Score will now start the main application with the sport you have selected.
Now it's time to add and prepare our scoreboard.
Live Score will now start the main application with the sport you have selected.
Now it's time to add and prepare our scoreboard.
Add a Scoreboard
Let's add a new scoreboard by using the + button in the right scoreboard panel of the main
window.
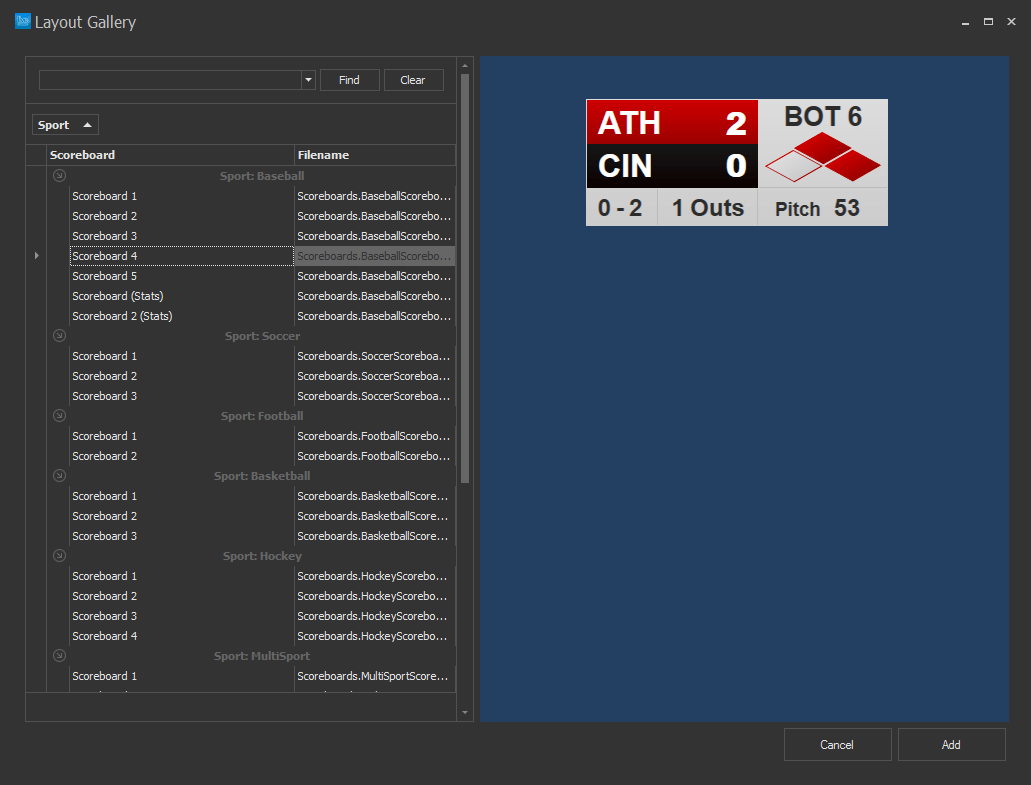
This will open the layout gallery, where you can choose one or more of your available layouts.
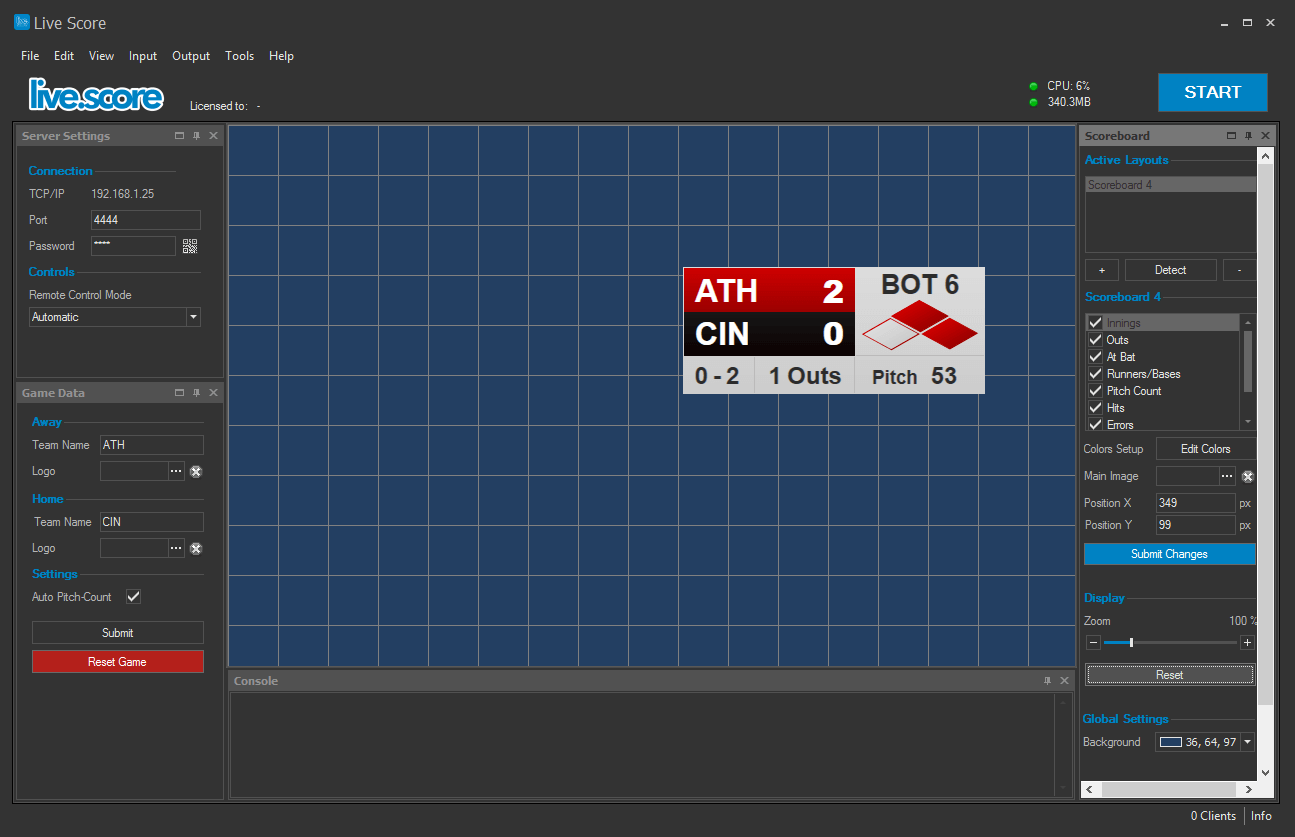
After clicking on Add your scoreboard should appear in the center area of Live Score.
Now you can move it around by dragging the scoreboard with your mouse, zoom it or customize it.
After clicking on Add your scoreboard should appear in the center area of Live Score.
Now you can move it around by dragging the scoreboard with your mouse, zoom it or customize it.
Start Live Score Engine
We're done in Live Score.
The last thing we need to do is to start the Live Score engine.
Do this by pressing the blue start button in the top right corner of the main window.
This will start all timers and controllers that are necessary to update your scoreboard data properly, and to enable incoming iOS connections from your remote apps.
Start Wirecast
It's now time to start your Wirecast application.
Do this on the same computer where Live Score is running.
Wirecast should now display an empty project - no input source or anything else.
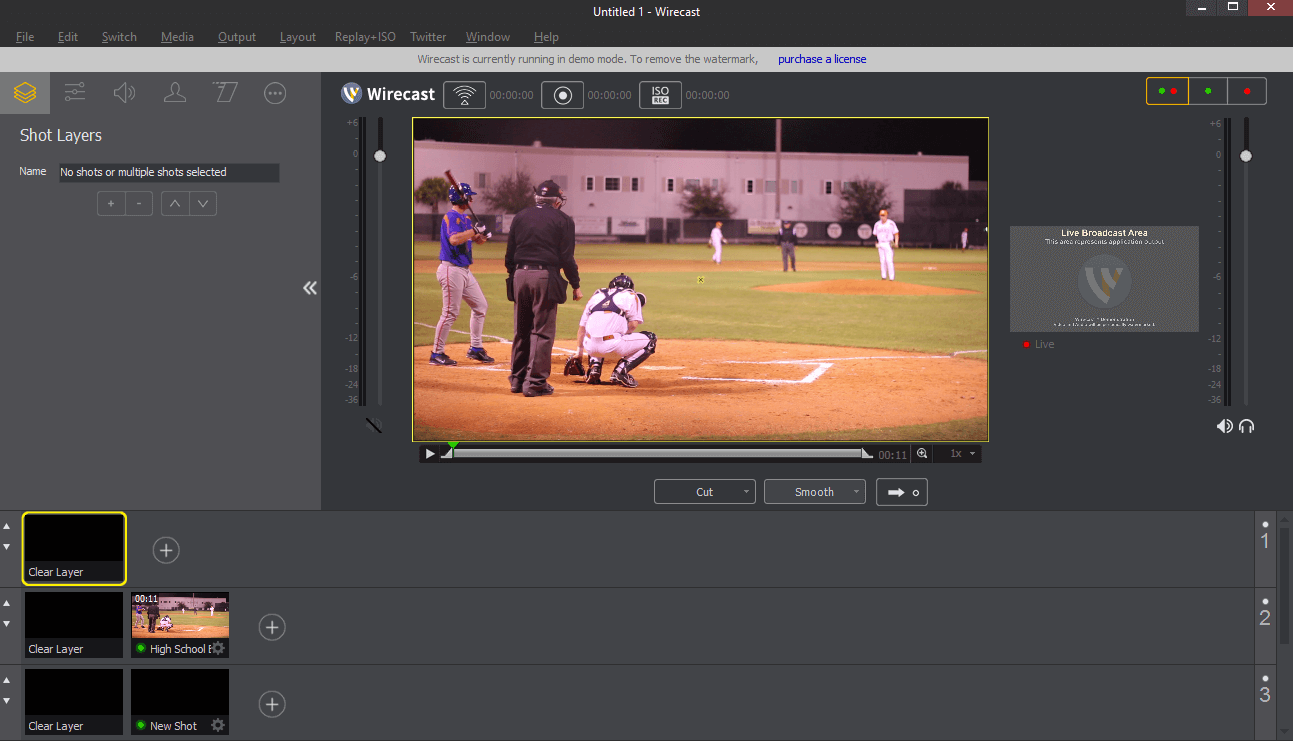
So let's add a video layer or camera source.
Click on a + button in the second row of the layers section and select your camera input, which should already be connected to your computer.
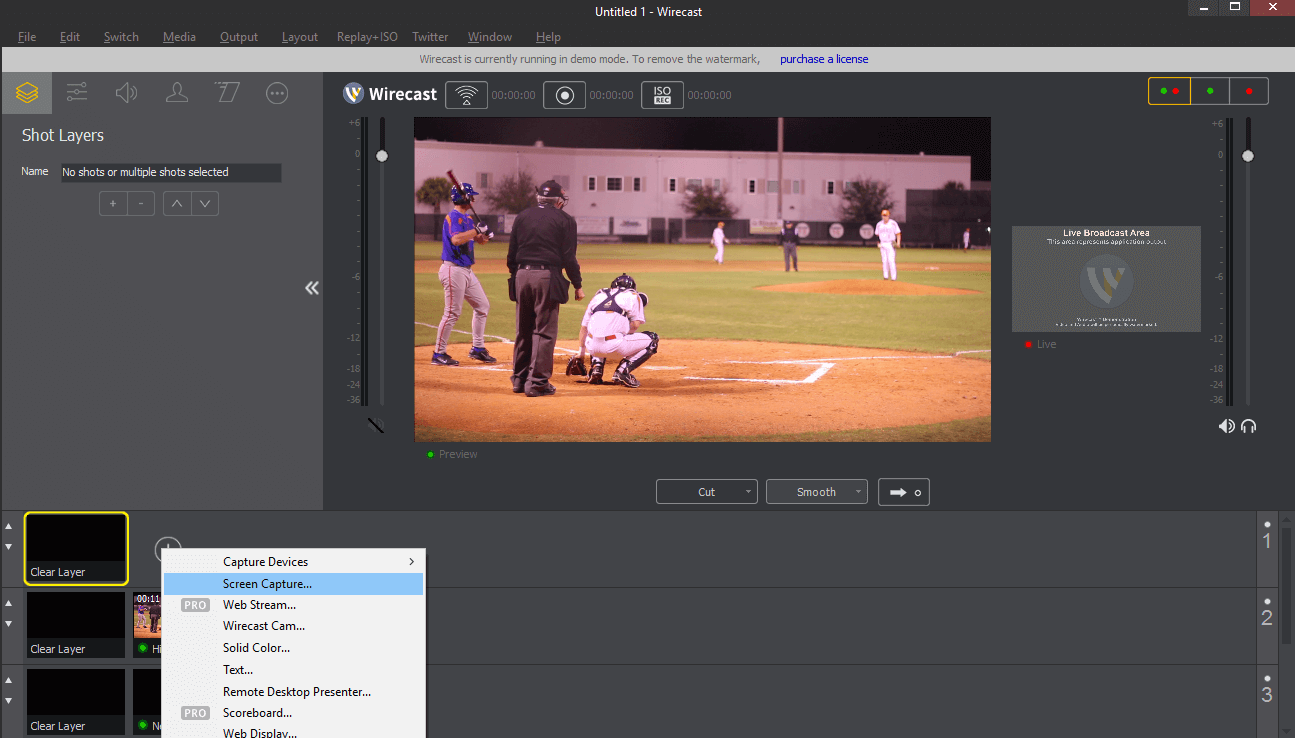
Add Screen Capture
Add a new Screen Capture in the layers row above your camera feed.
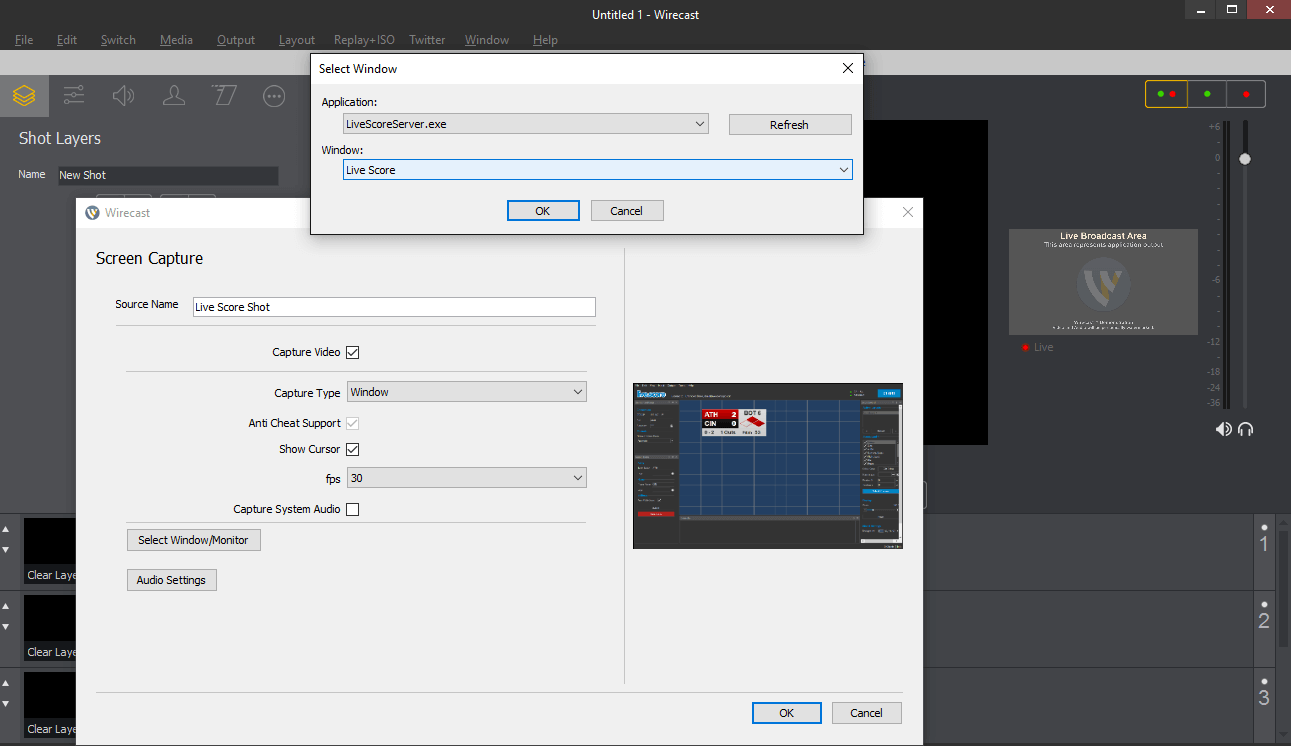
In the appearing dialog window we want to configure Wirecast to only capture our Live Score application.
Do this by setting the Capture Type to Window.
Then click on Select Window/Monitor which brings up another dialog window.
Here simply select your Live Score application.
Now disable Capture System Audio to avoid any audio signal and click on OK to close the window and add the screen capturing to your project.
We are actually done right now. The scoreboard is already on top of your camera, but it still looks a bit wrong. So our final step is the editing of the scoreboard layer.
Edit Layer
In this section we have to do 2 things. First we're going to apply chroma keying to remove
the blue background from our layer. After that we scale and move the scoreboard to make it appear
as a small graphic in the bottom right corner.
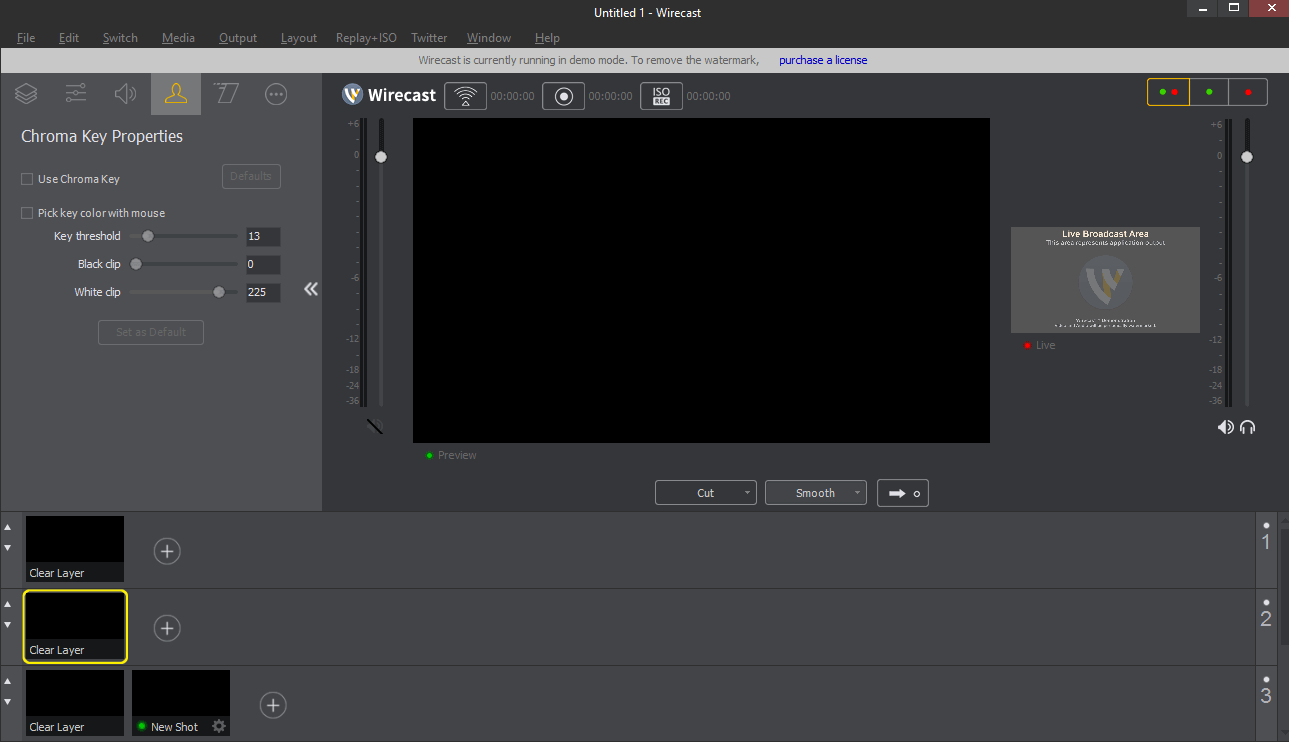
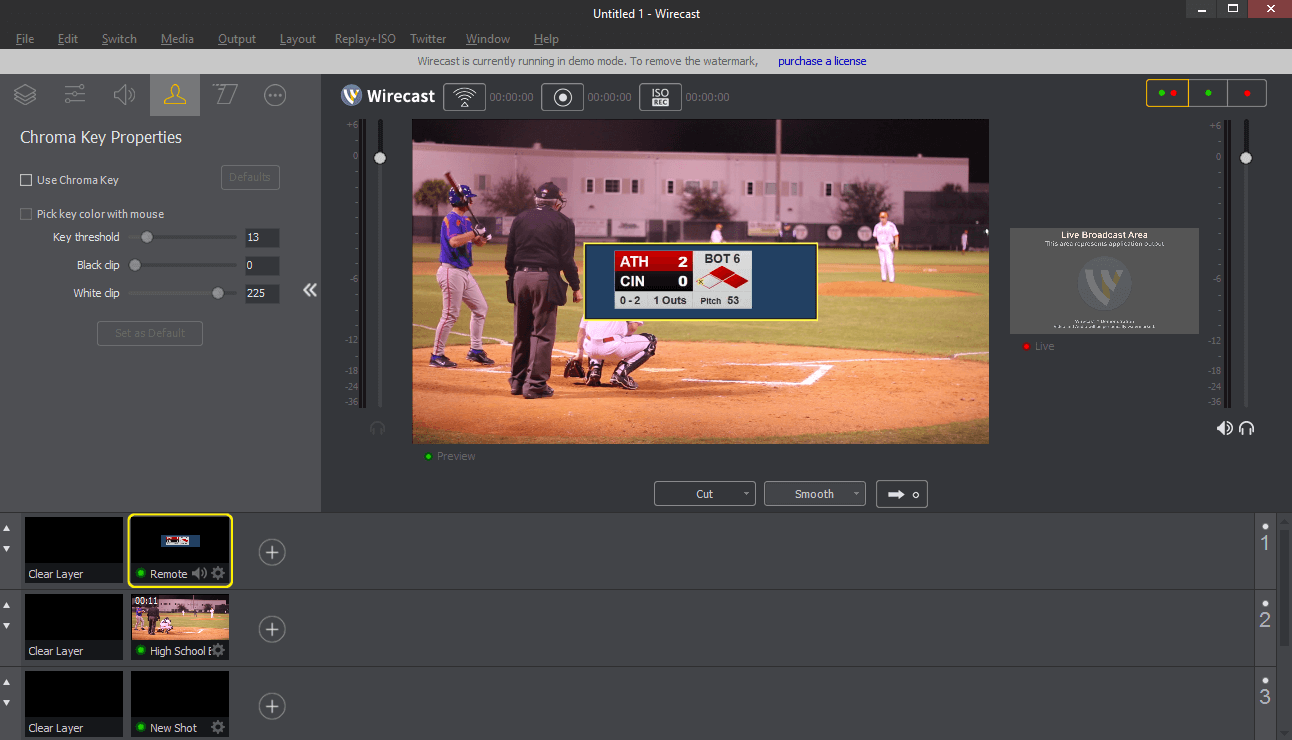
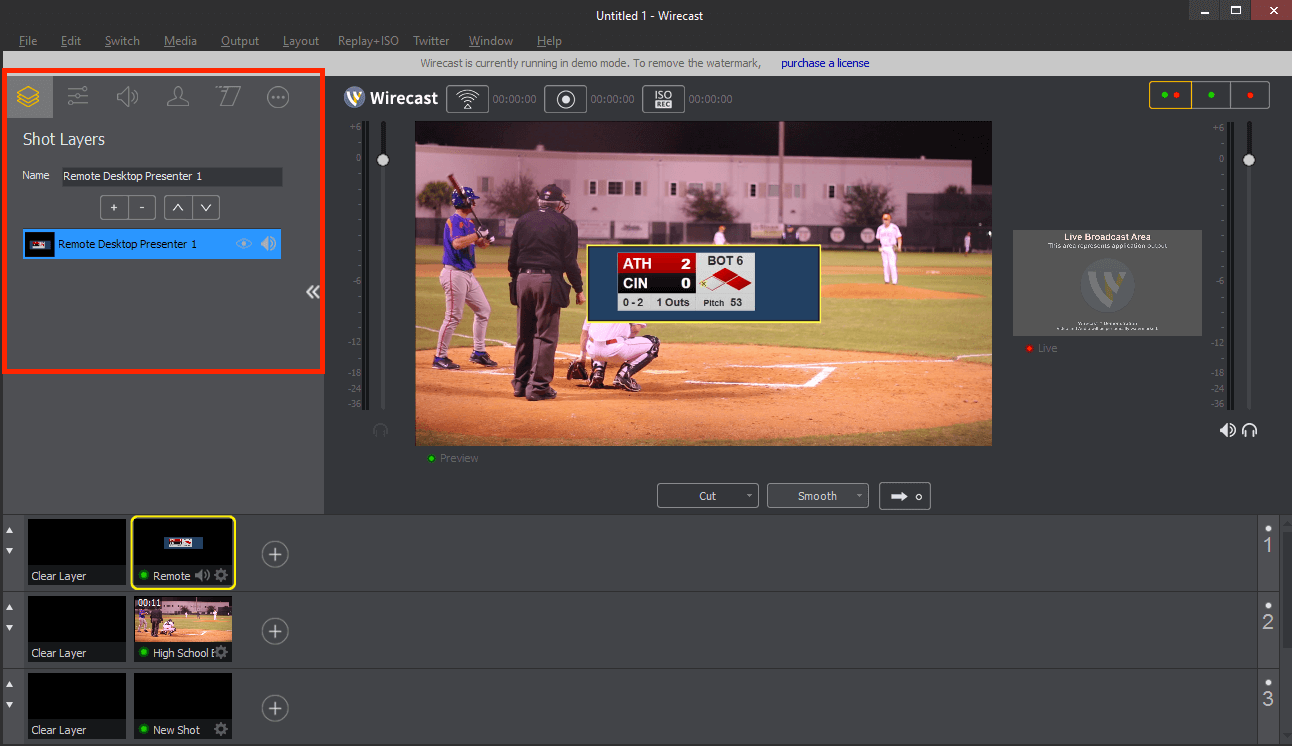
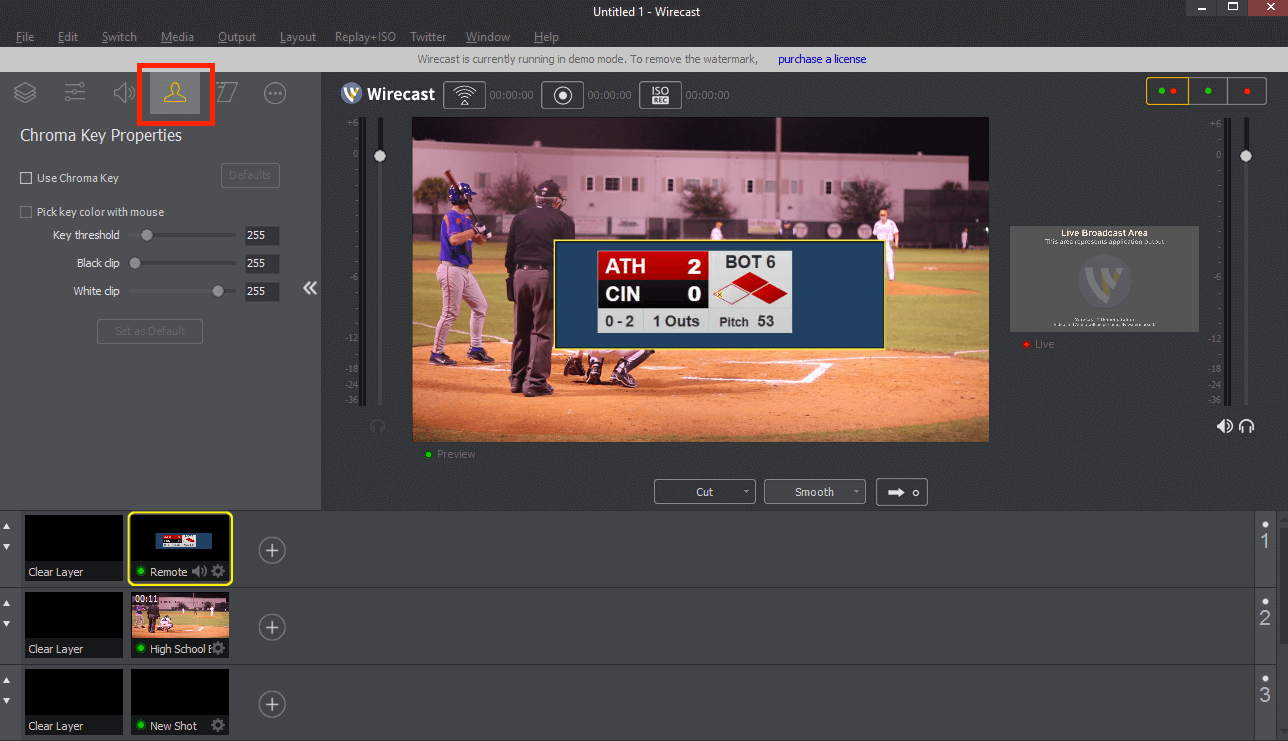
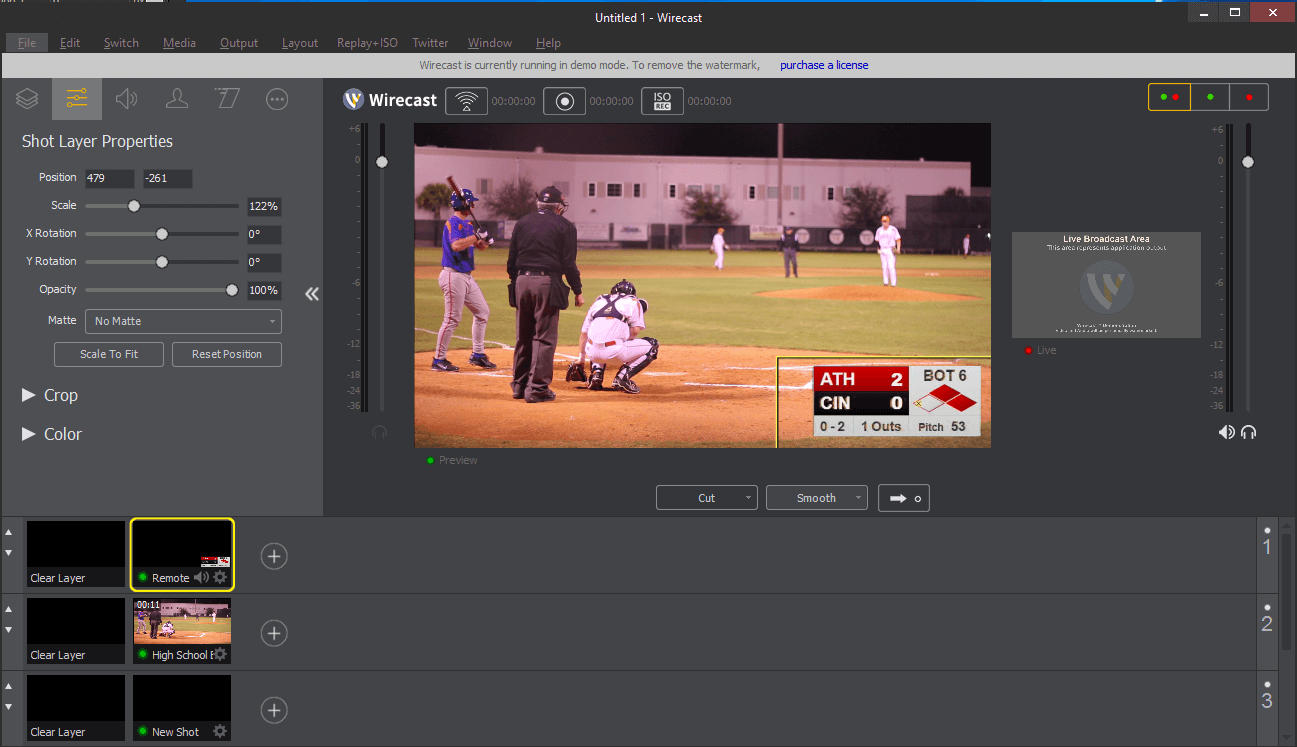
Select your scoreboard layer and take a look at the editing area of Wirecast (screenshot 1 - red rectangle). Click on the small silhouette icon to open the chroma keying settings. In this step we want to remove our blue background color.
Enable chroma keying and activate Pick key color with mouse. Then simply click on the blue background in the preview. The background should now be removed from your layer.
You can apply finer adjustments by using the threshold and clip settings of the chroma keying.
Please note that you want to use a Live Score background color which is not used in your scoreboard too.
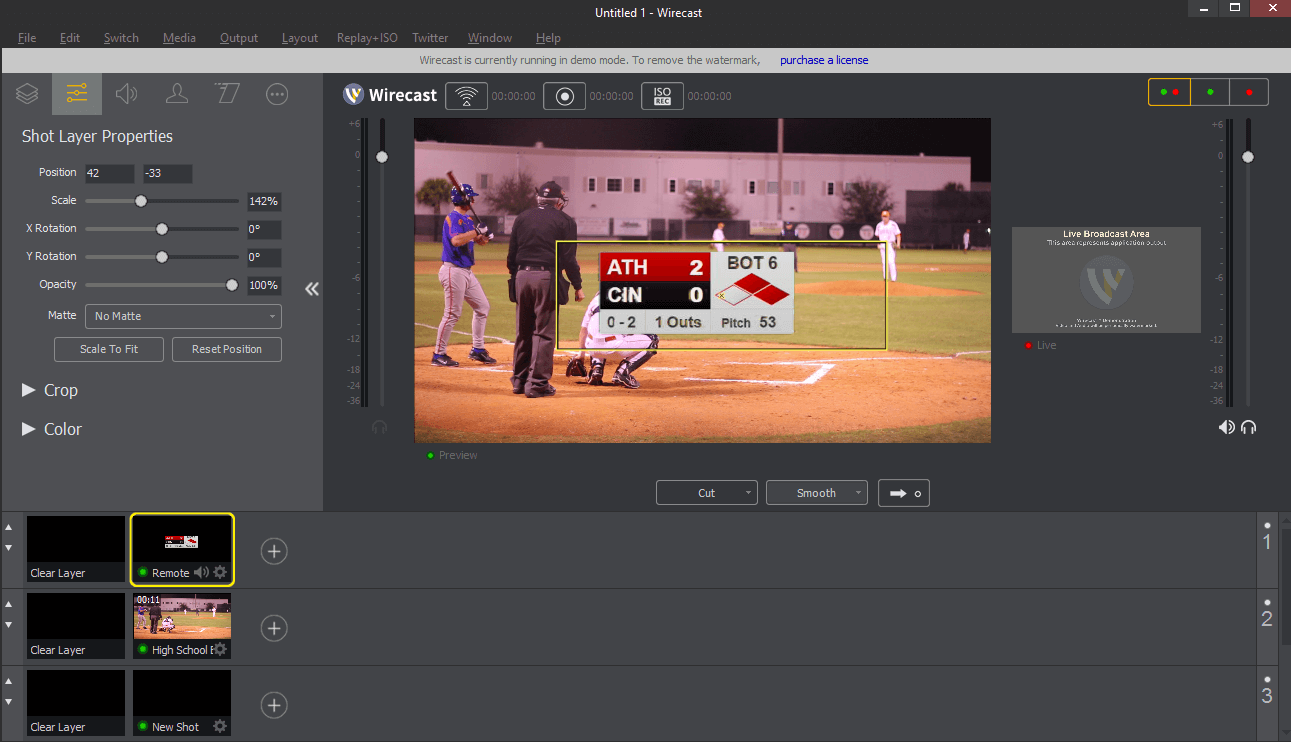
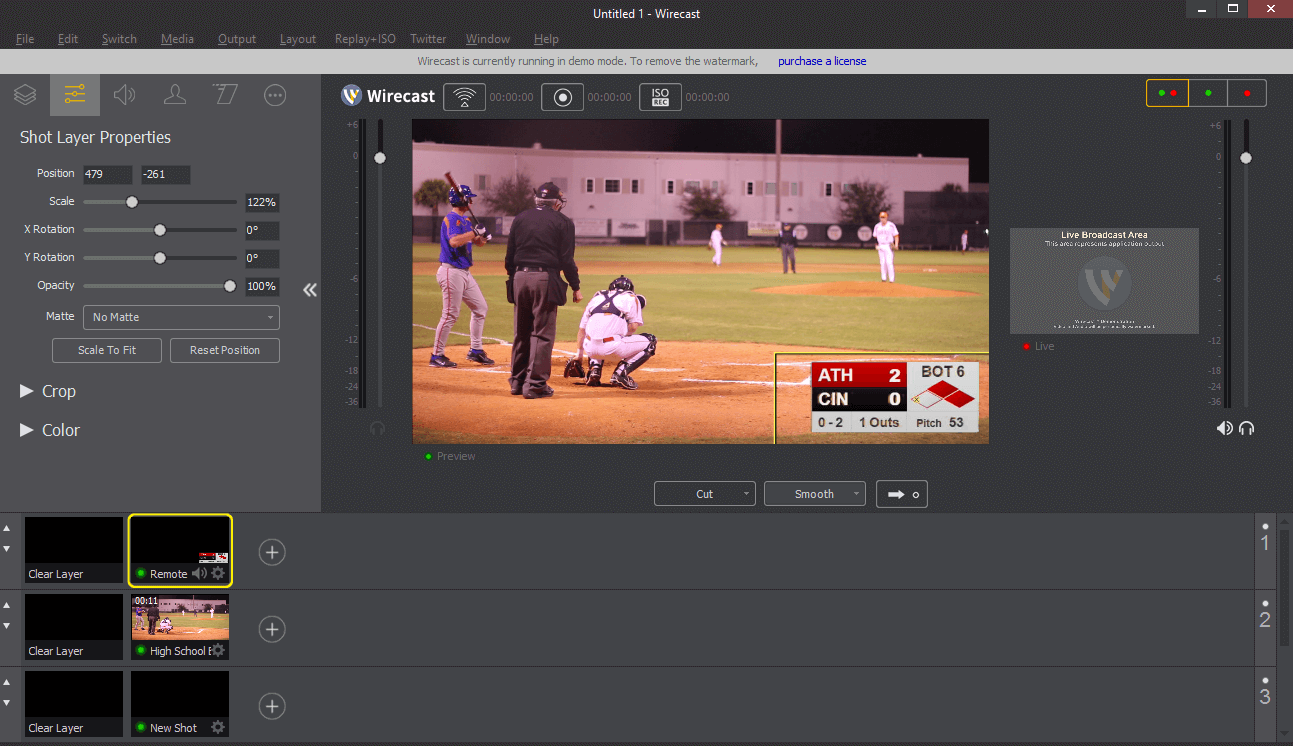
Now click on any other tab, like the properties icon (2nd tab).
Drag your scoreboard to the bottom right corner in the preview, by clicking on it with your mouse and dragging it around.
You can also use the scaling slider to adjust the size of your scoreboard.
That's it.
Bringing it all together
Everything is set up correctly.
It's time to actually learn how to bring our new scoreboard layer on top of our camera source.
Just select the camera layer and the scoreboard layer by clicking on each of them. This stacks both layers on top of each other.
If you want to put it live, don't forget to click on the arrow in the middle of Wirecast, if you have the preview mode enabled.
If you want to remove the scoreboard, just click on the Clear Layer instead of the scoreboard layer and repeat the process.
That's it, you're ready to go
You can now go on with finer adjustments, like positioning the scoreboard, scaling it,
and proceeding with your usual broadcasting workflow.
Live Score has not been made in cooperation with Wirecast.
This tutorial only covers the current version of Wirecast and does not ensure any functionality of Wirecast.

