API
The Live Score API of the Desktop Application is a full HTTP REST endpoint that allows you to communicate with Live Score from any system in your network.
You can either retrieve full game data from Live Score, post individual values to your current game, or run action based workflows and routes.
The API is available with Live Score 2.3 and higher.
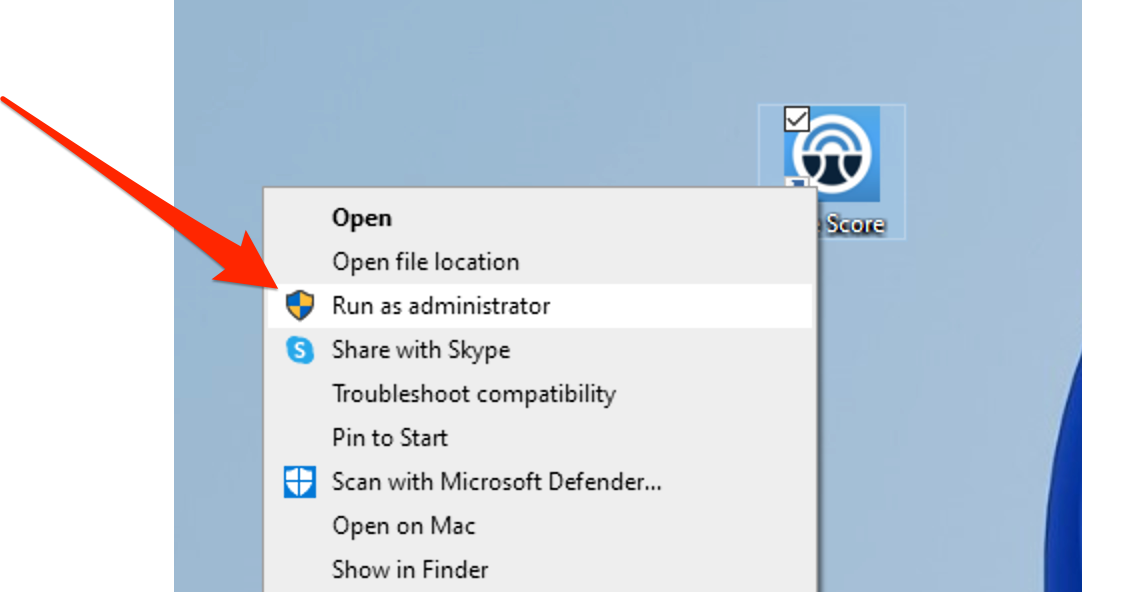
Run as Administrator
To use the API you have to start Live Score with Administrator privileges.
Do this by right-clicking on the Live Score EXE file and then click on "run as administrator".
Without these privileges it is not possible to start a local webservice with the API.
Do this by right-clicking on the Live Score EXE file and then click on "run as administrator".
Without these privileges it is not possible to start a local webservice with the API.
If you don't have the option to start Live Score as Administrator, please talk to
your IT department.
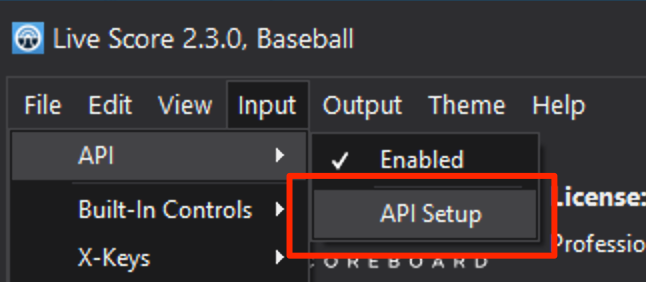
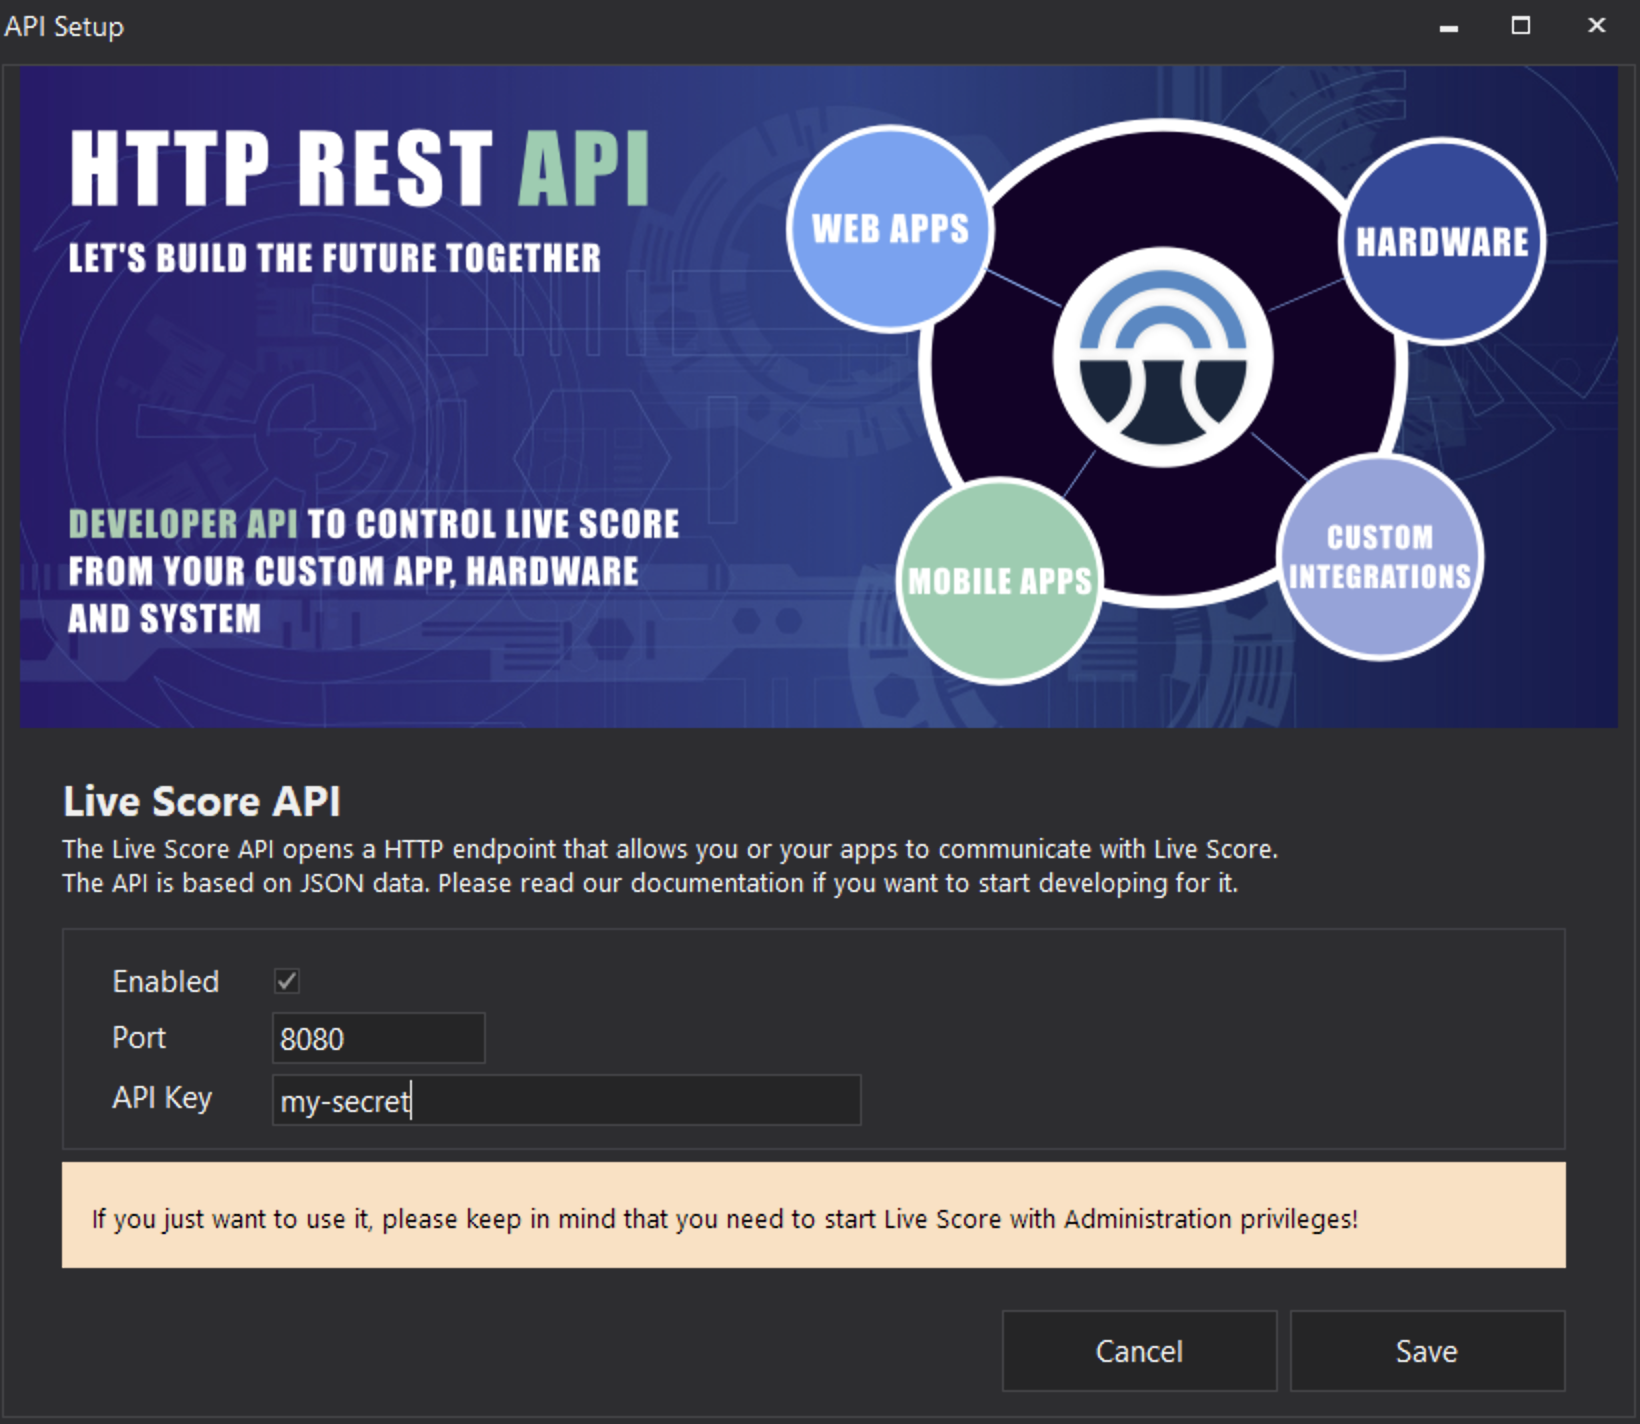
Setup API
Now it's time to configure and setup our API.
Do this by opening the setup dialog in Input > API > API Setup.
This dialog allows us to enable the API and set required data that we need to use it later on.
Enabled
Enables or disables the API when starting the engine with the blue start button in Live Score.
Port
Assign an available port of your system for our local HTTP webservice.
Please keep in mind that this port needs to be available from within your network, so you might need to configure or even turn off your firewall for this configured port.
API Key
Every system needs to provide an Authorization header with this key in order to allow communication with the API.
You can set any free key that you want to use for your API.
Now simply save your settings.
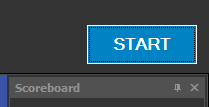
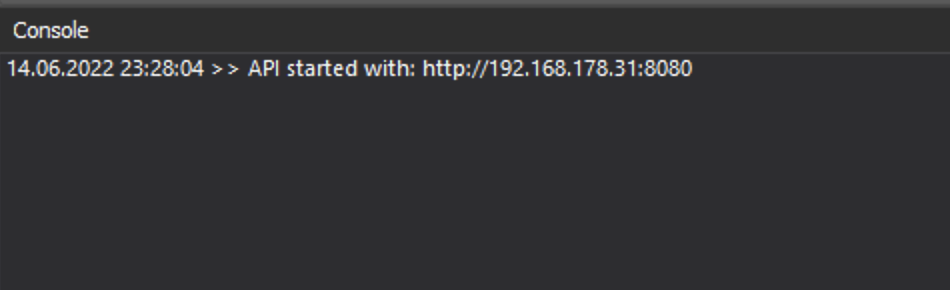
Start API
We're done in Live Score.
The last thing we need to do is to start the Live Score engine.
Do this by pressing the blue start button in the top right corner of the main window.
This will start our enabled API and also show us the available HTTP endpoint for our system in the console output.
The last thing we need to do is to start the Live Score engine.
Do this by pressing the blue start button in the top right corner of the main window.
This will start our enabled API and also show us the available HTTP endpoint for our system in the console output.
Use API
It's finally time to consume our API.
Depending on your used programming language this might be different, but what is always easy to understand is the basic HTTP request.
Send either a GET or POST request along with the "action" URL to the IP/Port of your Desktop Application.
The available routes are documented in the open source Swagger project (see below on this page).
Every request needs to contain a separate Authorization header with the value that you have configured in your Desktop App.
curl -X 'POST' \
'http://x.x.x.x:8080/game/start' \
-H 'accept: */*' \
-H 'Authorization: my-secret' \
-d ''
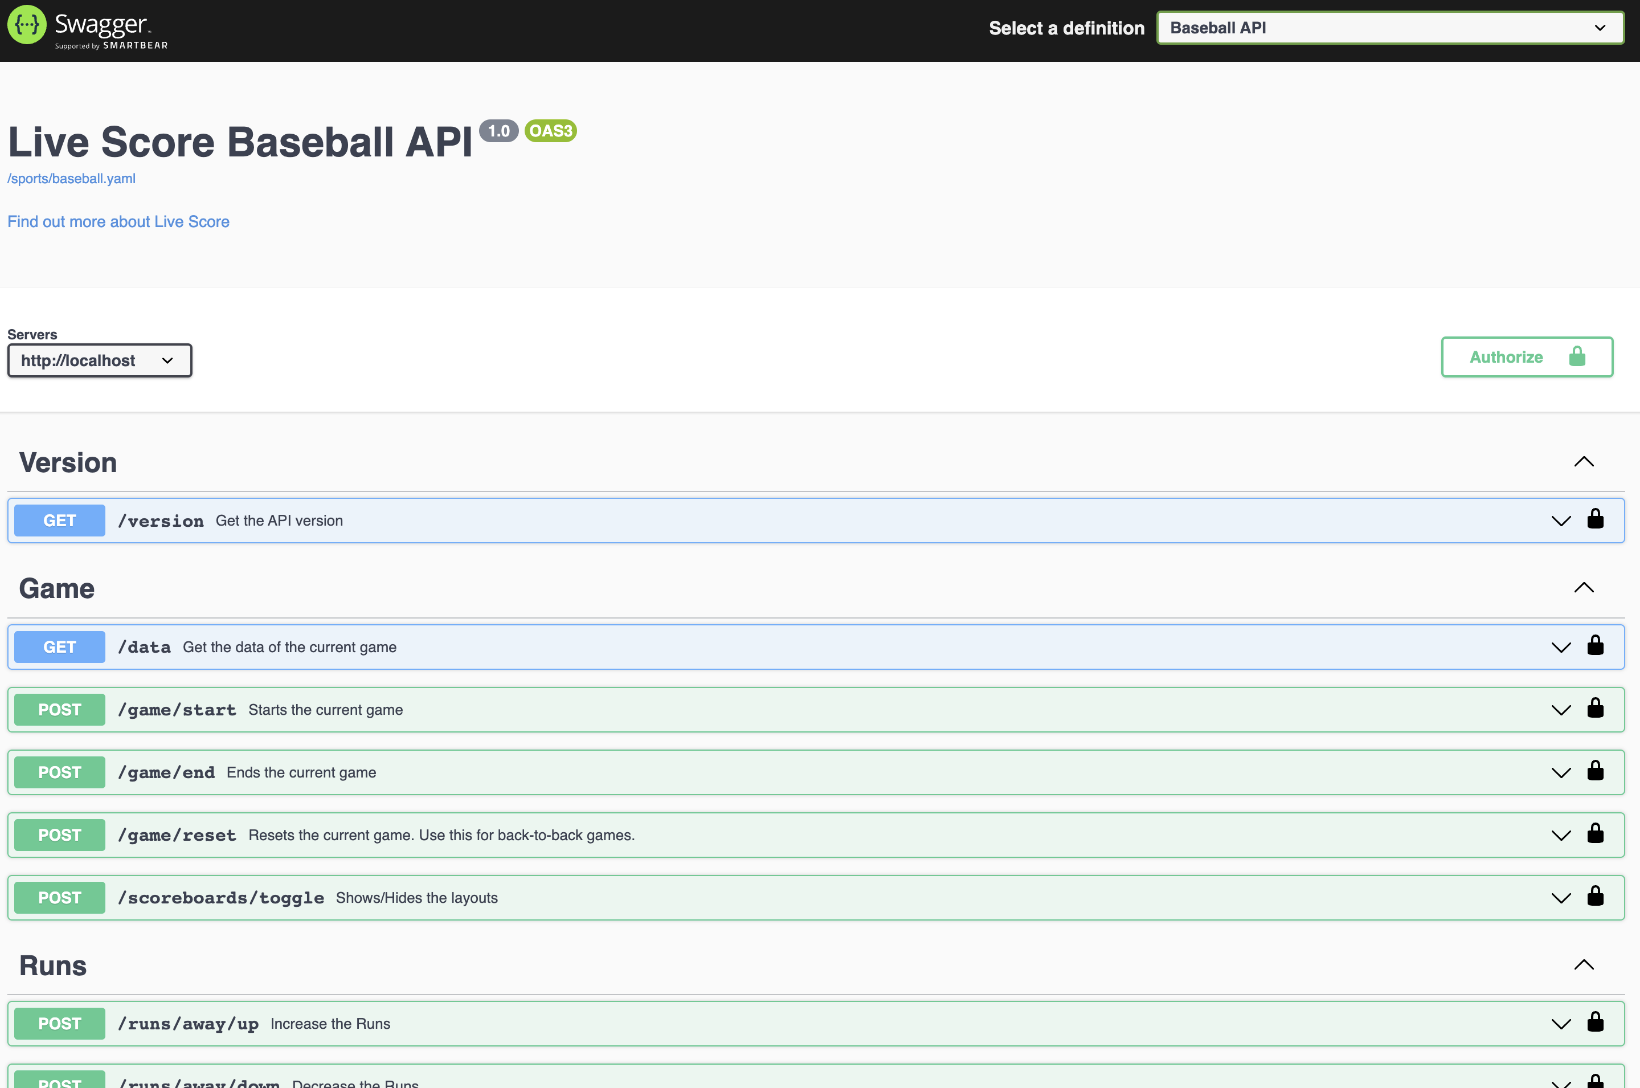
Technical Documentation
To give you an easy playground and also provide a centralized documentation of all available routes, please see our open source Swagger project on Github.
It's based on Docker and it's really a plug and play option to play around with the API.
For more, please see the README file on the project repository page.
It's based on Docker and it's really a plug and play option to play around with the API.
For more, please see the README file on the project repository page.